Mask Images
Background
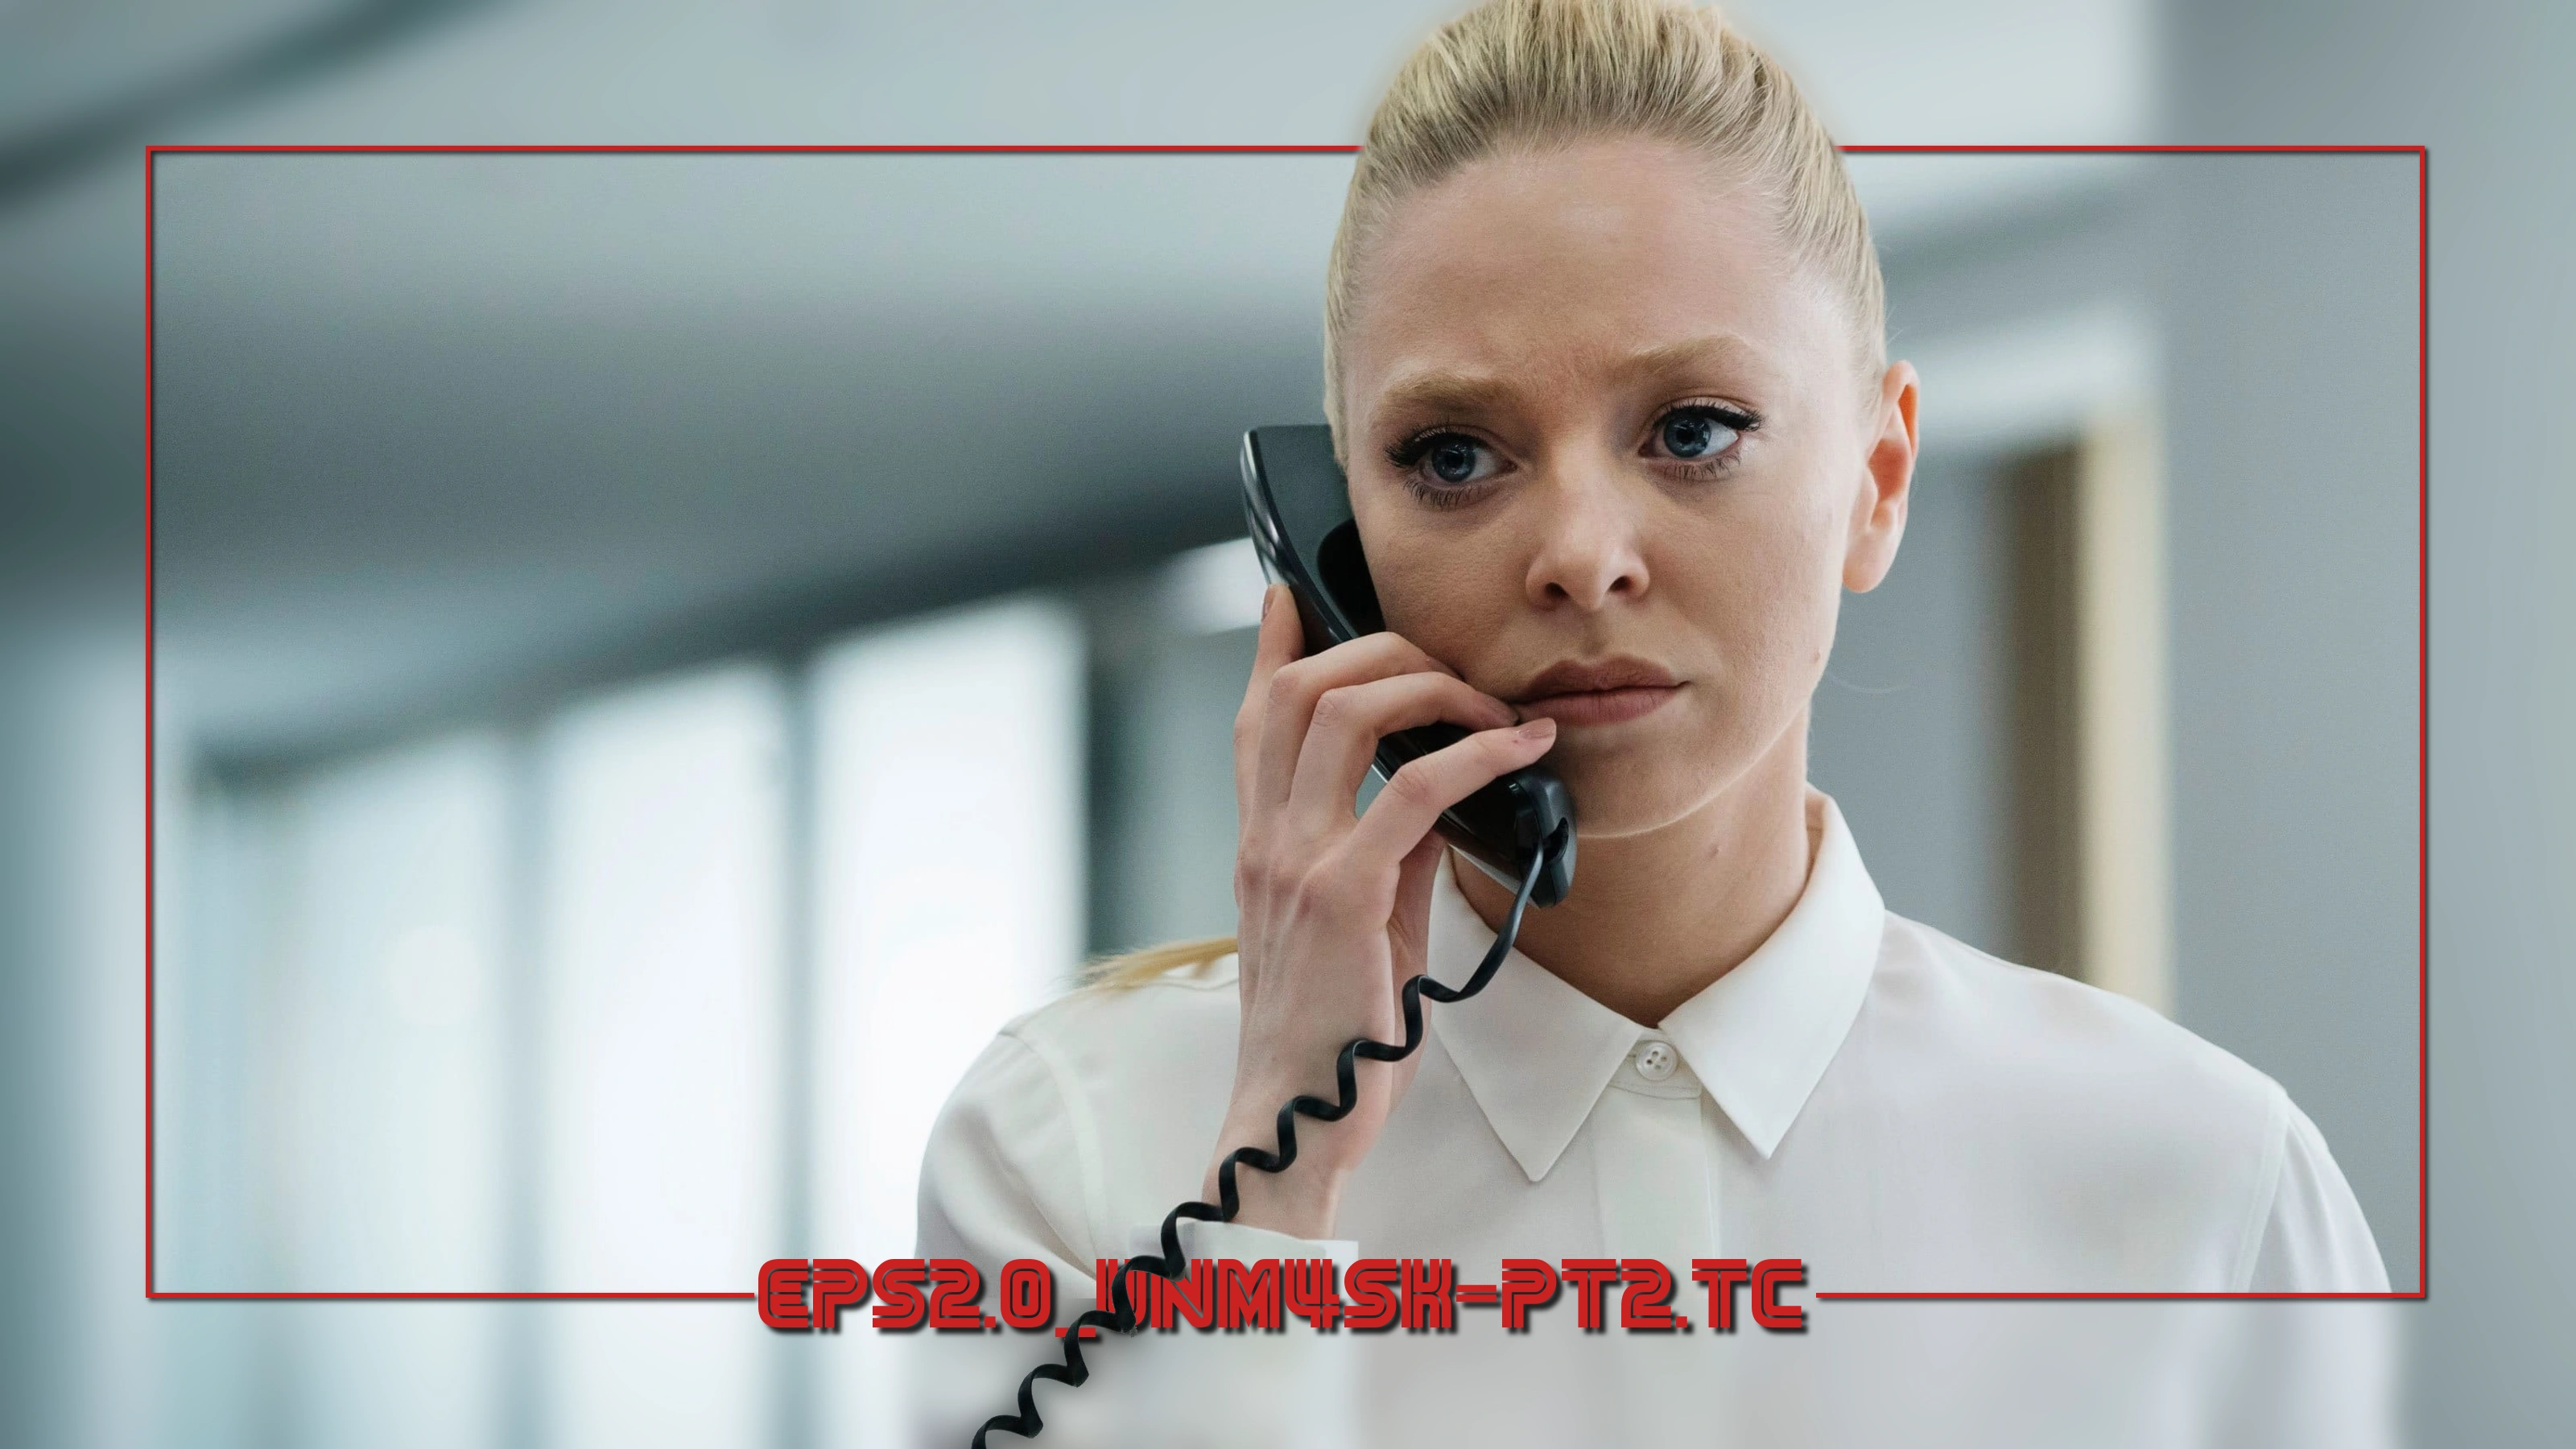
During Card creation, TCM can search for special images referred to as "mask images." These are special images located alongside the Card's specified Source Image which are applied after all other Card effects.
Because these images are added on top of the Card after all other effects and image processing, these Mask images can be used to add a "depth" effect to the Card.
Examples
Mask File Naming
TCM will look for mask images of a specific name based on the file name of the input Source Image; these are, in order:
{filename}-mask.*{filename}_mask.*mask.*
These masks must be in the same directory as the Source Image (i.e. that Series' Source Directory).
File Extension
The above .* means that TCM will accept any file extension - but the
optimal effect can be achieved with file types which support transparency
(.webp and .png).
Example
If a Card is being created with the default Source Image, e.g. s1e3.jpg,
then TCM will look for mask files named s1e3-mask, then s1e3_mask, and
finally mask in the same directory.
The generic mask file is searched for if you would like to apply a Series-wide
mask image, such as a logo.
Supported Card Types
Although not all Card Types support mask images, a vast majority do. Currently all builtin Card Types support this feature except:
Processing
Some Card Types apply pre-processing to the Source Image (such as the Anime Card which increases the contrast); TCM will auto-apply all of these pre-processing affects to any mask images before they are added to the Card to avoid visual artifacts.
TCM will also resize the mask image to the size of the default Card canvas used in Card creation (3200x1800), so ensure the mask was saved in the same aspect ratio to avoid distortion.
Creating Mask Images
TCM does not provide any functionality for creating mask images. This should generally be done in some external image editing software like Photopea, or Photoshop. Both services have content-aware subject select tools which are very helpful at extracting a person/thing from the underlying image.
If you are willing to set up another piece of Software, I've had great success with the command line tool BackgroundRemover.


